Sunday, June 16, 2013

Striped dishtowels (cont.)

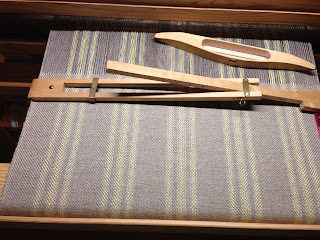
Instead of leaving empty sections on the bottom warp for the stripes, I chose instead, even if I was affraid to end up with friction issues between both warps where each section crosses with the other. I wanted by doing so to avoid tension problems on the lower warp beam which holds maybe 4 to 5 longer than the top one. I also had to cut a new bunch of 60 warping sticks before starting.


Threading the heddles from two separate warps was no problem.


All looks tidy from the back. The double warp beam works as planned.


While I had planned to use 2/9 linen for both warp and weft at 24 epi, I had to switch to a 2/10 linen warp for a balanced weave. I did not want to reduce the sett and end up with narrower towels.


Thursday, June 13, 2013

Striped dishtowels


This teatowel project will be the first one using the double warp beam. The upper beam will hold the couloured stripes warp and the lower one the background natural warp. I will not in this project be using a double warp beam to address an issue of  warp elasticity difference but to be able to switch stripe colours a few times throughout the whole ground warp length.

I am starting with the upper warp leaving blank sections between the stripes.


The teasels have grown quite tall in a short period of time reaching almost 5 feet high.


Thursday, May 30, 2013

Fuller's Teasel (Dipsacus sativus)

The teasels have survived our cold winter (Canada 5A Zone) under a thick cover of 1,5m (54in) of snow.


The plants are not very high but flower buds are starting to show.


I ordered the seeds two winters ago from la Hulotte French magazine and sowed them last summer.(http://lahulotte.fr/cardere_cultivee.php)

Sunday, May 12, 2013

double warp beam completed

I worked almost all day yesterday completing the double warp beam.


Working on the sides, the end piece details take more time to make than the original square cut but they look prettier.


A little assembly test to make sure everything works.


How do you put this up on the loom by yourself? Awarping frame is always handy :-)

Everything seems ok.

I took everyting down and gave it a good sanding. Here I am waiting for the oil finish to dry.


In the meantime, I made a pair of locking pins for the upper warp beam.


1:30 am. Tired but happy. The double warp beam is up on the loom!

Friday, May 10, 2013

What happened since last January?

Sorry for not having updated my blog lately... just too busy I guess :-)

What happened since last January?

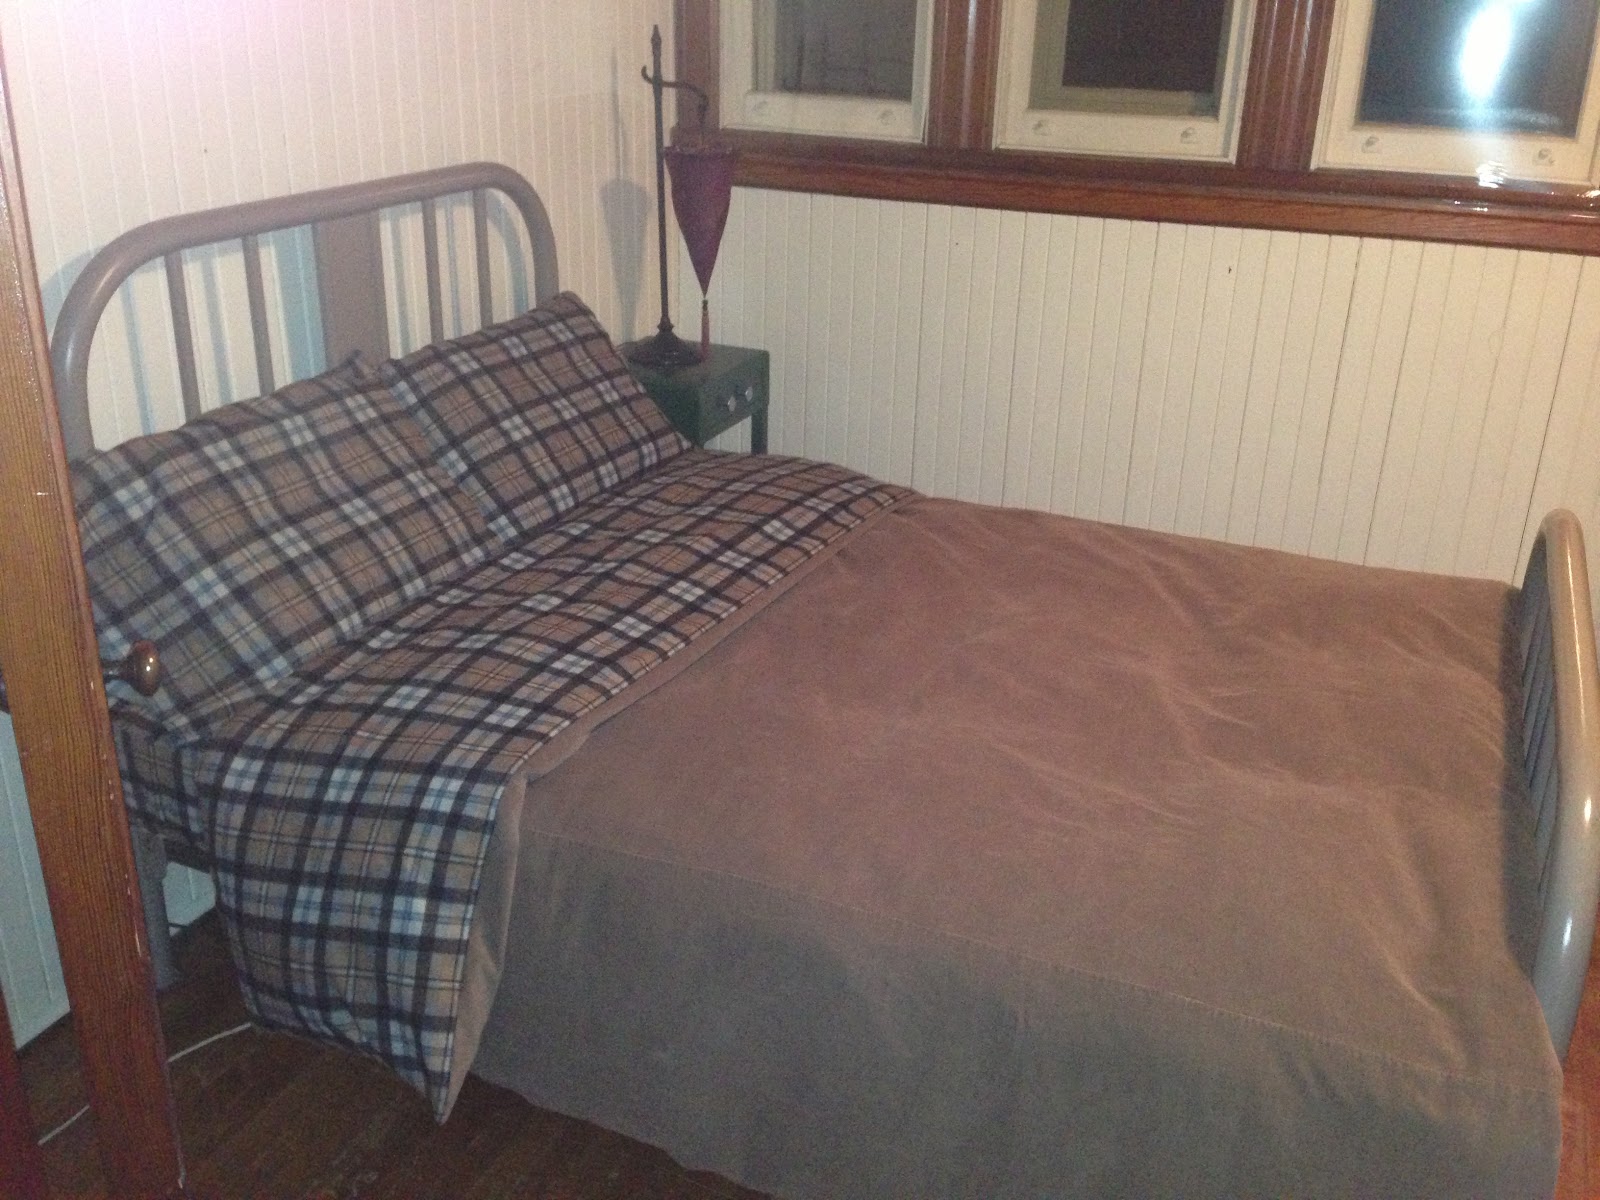
A new duvet cover set for one of our guest room, I made the duvet cover with the flat sheet and some corduroy fabric recycled from another bed cover. That makes a nice winter set.


Nothing to do with weaving but I was finally able to get braces. Some things in life take more time than others... priorities and budget limitation.


I also started making a second warp beam to go with the ratchet wheel I bought this winter from Dawn McCarthy for my Standard 110.


I also took a 6 weeks (one half day per week) tapestry course from the Centre des Textiles Contemporains de Montréal (http://www.textiles-mtl.com/en/) which I highly appreciated and recommend!


This week, I finally was able to continue working on the double warp beam project. Here we see one of the sides that will hold both pairs of back and warp beams.
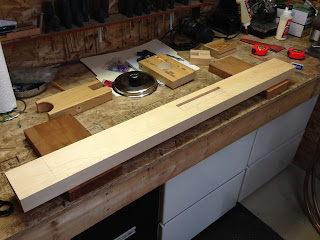


And here what will become the second back beam along with the existing one.

Keeping busy, I told you!


Saturday, January 12, 2013

Cheap quills and weaving

I can't say enough good about paper quills, first they're silent, second they cost almost nothing. Out of two paper grocery bags (now at 5 cents each) I obtained over 70 quills! First I cut off the bottom of the bag, then I fold it flat and cut along both edges. I then accordion fold each side according to the size of the quill I need and I cut through the layers following a circular shape (here using a Heineken coaster).


Weaving wise, I reached today the 30" mark on the second Smålandsväv runner. They need to be about 60" long each for my dining room table (The picture shows 24" but I kept weaving after taking them).


Saturday, December 29, 2012

Today, I'm weaving on the second Smålandsväv runner and run out of handspun woolen weft.


So I got the roll of wool roving I got from Upper Canada Village two summers ago out and spun a full wheel bobbin. I weave it single so no need to ply. We all know about cat's interest for wool do we?


Thursday, December 27, 2012

A new project, huck lace linen towels taken from May/June 2003 Handwoven magazine.


But I find them too thin so they'll be woven as table runners.


Sunday, December 16, 2012

Finishing up mom's Christmas gift

I have to finish up twisting these fringes for Christmas...


Thursday, December 13, 2012

Overshot & fur cushions

I brought back home my overshot class sample woven at our weaving guild. It will be a good match for this old fur coat I kept aside to make cushions.


I started by taking apart the coat.


And was surprised to find out that fur coats are in fact made out of multiple small pieces.


I am very pleased with the results :-)


Saturday, November 17, 2012

Finished weaving the 2nd throw

I am finished weaving the 2nd throw. It will be mom's Christmas gift.


There is still a good amount of warp left but I chose to take it off and use it in a future tapestry project.


Wednesday, November 07, 2012

First Smålandsväv runner ready

My first Smålandsväv runner is ready for our Guild exposition this coming weekend.


Wednesday, October 03, 2012

Last project on the Ideal 90

My Ideal 90 loom is returning to it's previous owner in Quebec City after a good 8 years with me. It is time to let my very first Glimåkra loom go.

My last project on this loom is a set of linen floorcloth taken from Väv Magasinet 2/10 woven on 6 shafts.


The loom is ready for it's next move. I replaced the linen cords with Texsolv.


Saturday, August 25, 2012

2nd throw

The is enough warp left on the loom for a second throw. I replaced the narrow stripes with different ones attached to a shaft stick for easier warp advancement.


The shaft stick is attached to the frame with 2 strings. After advancing the warp, adjusting these 2 strings until an even tension is obtained is all it needs instead of adjusting every single stripe separately.

It looks quite different than the previous (70's) one.


Followers